Campaigns allow you to provide different product offers and messaging to customers based on the products in their orders or on the number of renewals they have (Note: Renewal count is the same as the charge number of an account). You can use them to suggest particular pairings of your products or provide a free gift for customers who stick around for a few months (just examples - feel free to get creative).
Follow the video tutorial (above) or written instructions (below) to build a custom campaign.
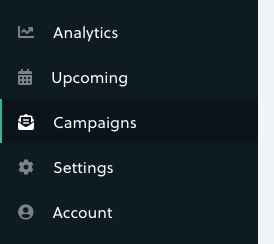
To get started, click the Campaigns tab on the left side of the screen:
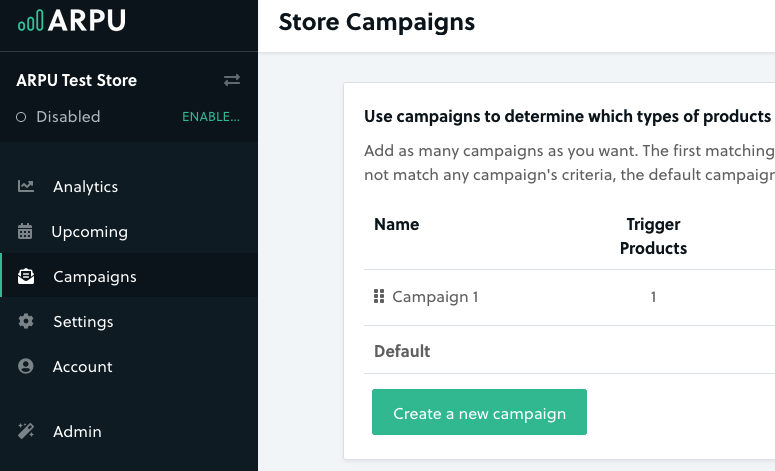
Here, click 'Create a new campaign' to build a new rule:
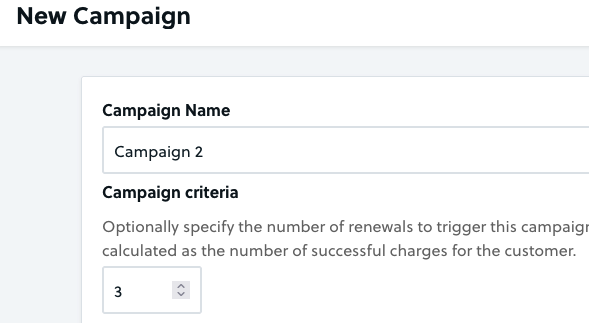
Give the campaign a name that makes sense to you, then specify the rules that will control who it will be sent to. If you put a number in the first box here, this will go out to subscribers who have renewed that many times:
This is how you'd send, for instance, a free gift to subscribers who stay for 3 months.
Below that, you'll find the Products area, which will allow you to specify particular products to target customers who are getting those items in their subscription.
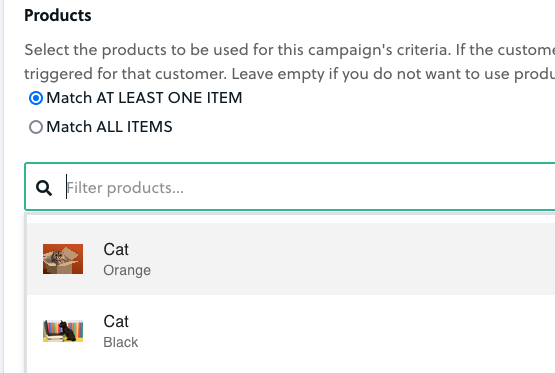
You can choose to target everyone who matches at least one item, or select 'Match ALL ITEMS' if you want to only send this campaign to people who have a specific combination of products. Click the Filter Products field to select the products to target:
Note that you can use either or both kinds of conditions. If you choose a number of renewals AND a product to match, then this campaign will be sent to only customers who meet both criteria. If you leave one of those conditions blank, only the one you filled out will be considered.
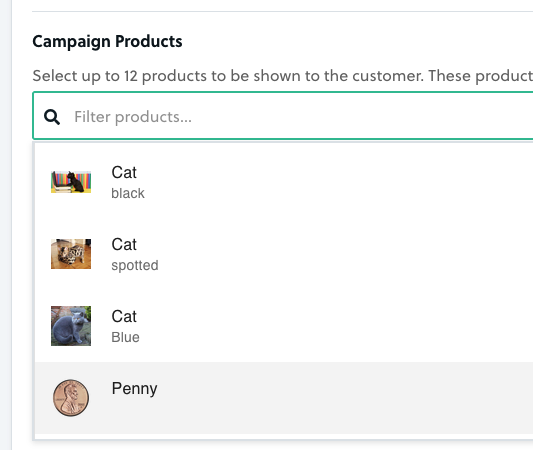
Next, under Campaign Products click the Filter Products field to select the products to offer to your customers in this campaign:
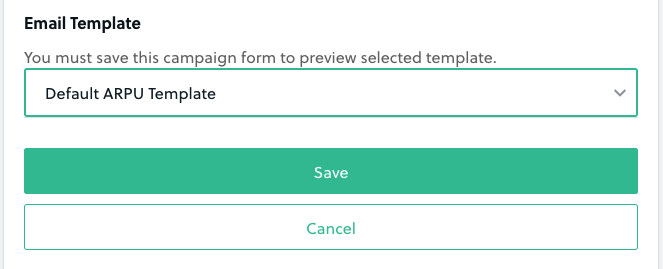
The last thing before clicking Save is to select the template that you'd like to use for this campaign from the dropdown:
Using the same template for all your campaigns is totally fine, or you can customize the template (for instance, to change the language in the body of the email) for each one.
Once your campaign has been created, there are only two things left to do:
First, make sure that the campaign is enabled - disabled campaigns won't be sent!
Second, make sure your campaigns are in the right order. When it comes time for an upcoming shipment notification, ARPU will check each campaign in order starting from the top and working down. Once it finds a match for the customer, it will stop and send that email. This means that if you want to have a special campaign for everyone who subscribes for at least 3 months, you probably want to have that campaign above the one that goes out to everyone who has a certain product in their subscription:
If none of the campaigns are a match, the Default campaign will be sent instead (this is what happens before you create campaigns as well, so it's a good idea to make sure that the Default has been configured even if you're not using other campaigns yet).

