Updating Your Logo
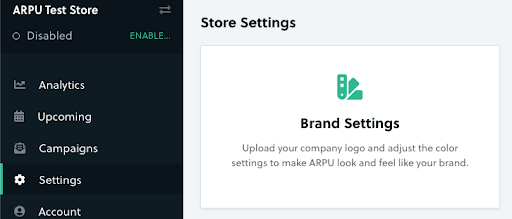
Click the Settings tab in ARPU, then click the Brand Settings tile to get started.
Here, the first option on the page will allow you to update your logo. Click the Browse button to upload a new image, then specify the width of the image using the slider below.
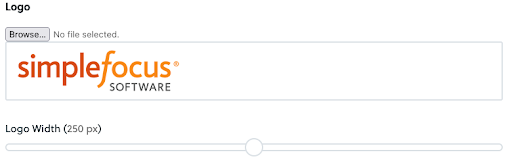
(Note that the maximum width is set to 500px to allow for a good mobile experience for your subscribers.)
Updating Your Brand Colors
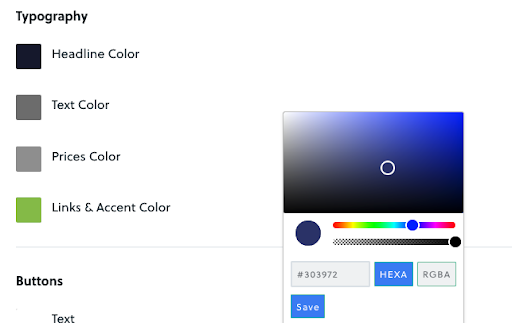
Below the logo, you can specify the colors of text, buttons, and backgrounds.
For each element, you can click on the color swatch to select the color you’d like to use. You can provide the hex or RGB color values, or you can use the provided color picker.
Using Custom CSS
If you have custom CSS that you already use for checkout pages and/or emails, and you’d like to have those apply to your ARPU content as well, you can find a field to provide those at the bottom of the Brand Settings page.
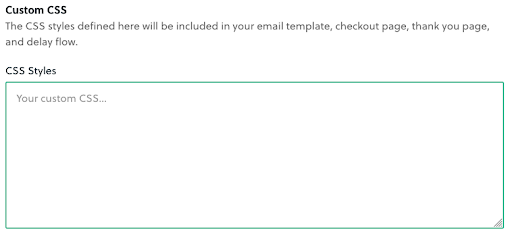
Note that custom CSS is completely optional, so if you don’t have any to use, that’s okay!
Once you’ve got everything configured, be sure to hit the Save Changes button.